Setup up gcp
沒特別標明的選項就是用default
- google gcp
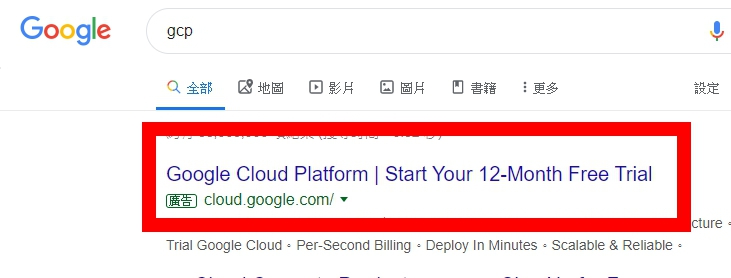
- open gcp account
- 去主控台
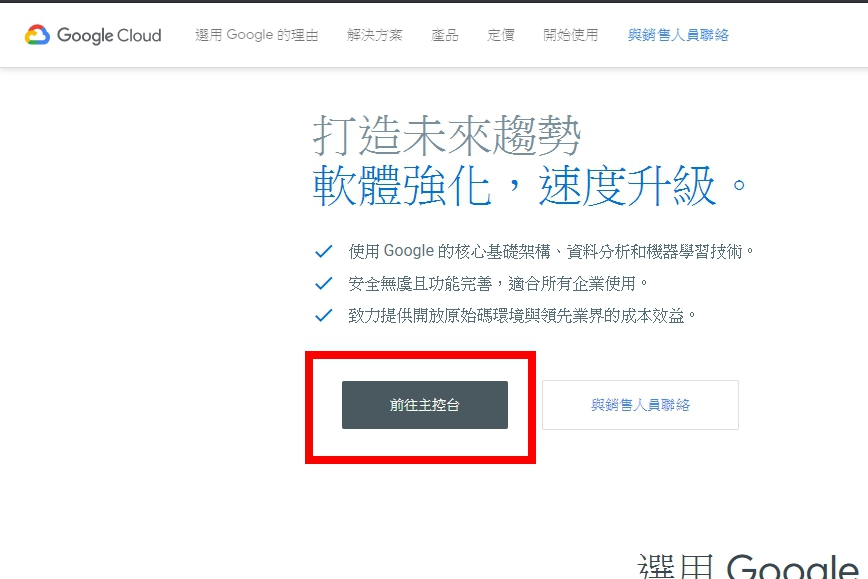
- 主控台
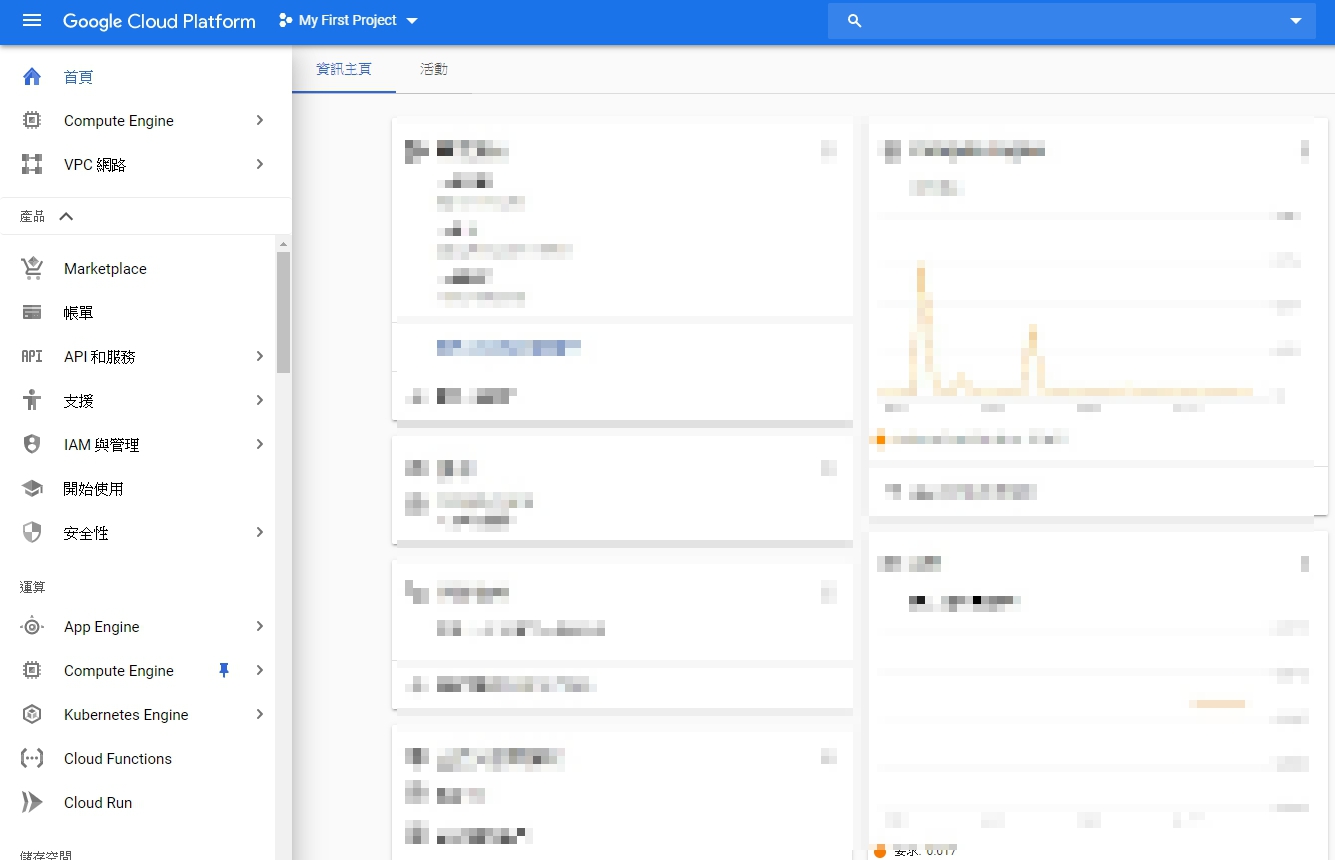
- 在Computer Engine 裡 創一個
VM 執行個體 - 建立VM 執行個體
- 選個地方 (區域: 台灣/香港) <—- 這是機房的位置 越近越不lag
- 區域的第二個部分是在那個區域的機房位置 (eg 台中 台北)
- 機器選個便宜的 大概選g1就可以 (1 vCPU, 1+ GB RAM)
開機磁碟選Ubuntu 16.04LTS- 在
管理、安全性、磁碟、網路、單獨租用裡網路tab 裡, 網路介面的外部IP改成建立IP地址(這是為了取得靜態IP地址 以後才能一直從這個IP連上SSR) - 然後 [建立]
Setup VM
- 回到 Computer Engine 的 VM 執行個體 裡,開啟你的VM (default name instance1?)
- 點
SSH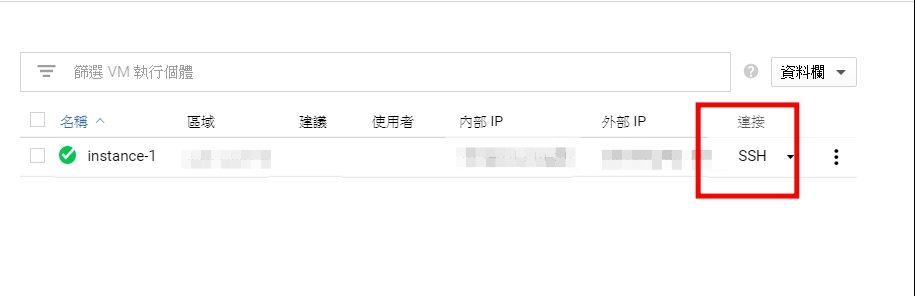
- 接來跑下面的指令,一個一個來 中間可能會要等他跑一下才能打下一個
sudo -i
apt-get update
apt-get upgrade
apt install python-pip
pip install shadowsocks
wget https://github.com/hellofwy/ss-bash/archive/master.zip
apt install unzip
unzip master.zip
ls
# ls can show u the current files and folder in the directory u r in
cd ss-bash-master
# cd moves u into a folder or goes up of current directory
apt install bc
./ssadmin.sh
# 看隨便要什麼cmd自己選
# 通常要先 add [自選port] [自選流量限制] 然後就可以用了
# status 看開著還是關了
# start 啟動
# stop 關掉
- further reading https://github.com/hellofwy/ss-bash/wiki
Setup firewall
- 在
VPC網路裡的防火牆規則加一個新的規則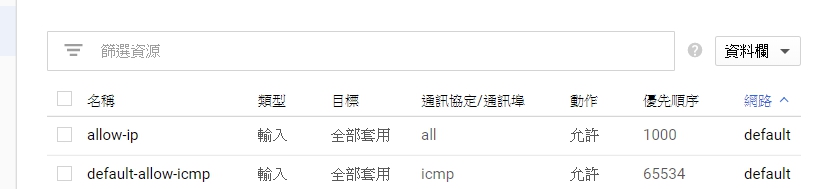
- 名字取個allow-ip 比較好懂
目標選網路中的所有執行個體來源IP範圍選0.0.0.0/0通訊協定和通訊埠選全部允許
改compute engine綁定的IP
- 去VPC網路裡的
外部IP位址
- 按
變更 - 把附加在現在這個instance上的位址給換成「無」 這樣他會重新分配一個暫時的靜態位址這個instance
- 然後現在在你持有的位址裡就會有兩個 一個是給你的instance 另一個沒東西在使用他
- 把舊的位址給釋放掉
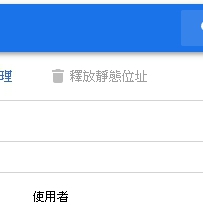
- 將新的改為靜態

………